I bet you thought this tutorial was never coming, well it's finally here and you're going to love how simple it is. It's such a pretty cake and so easy to make. It will be your go to cake for all occasions. Since a picture is worth a thousand words I figure we'd do this with mostly pictures. I took as many as possible with my icing covered fingers.
Start out with some buttercream frosting, you can never go wrong with buttercream frosting. I use the Wilton recipe found here.
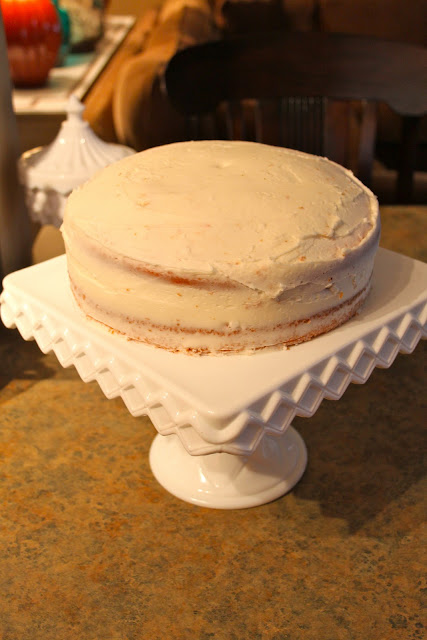
Then, crumb coat your cake to provide a base coat and keep the crumbs in.
Next, cut the tip off your icing bag (you can also use a gallon size ziploc bag)
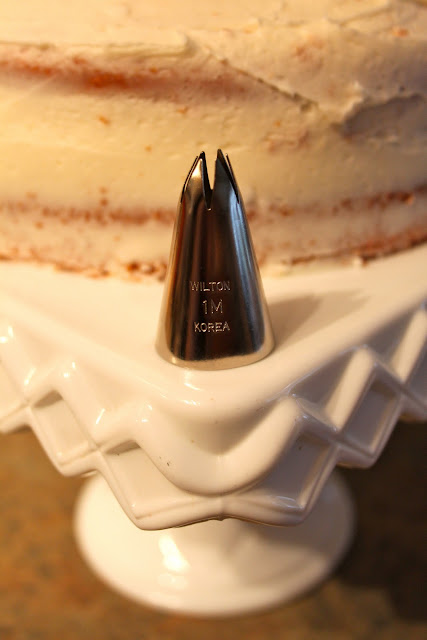
and the secret, this little tip from Wilton. It does all the work for you. You can find it at most craft stores (Hobby Lobby, Michael's, etc.) In case you can't read it, it's the Wilton 1M. Insert it into your icing bag and fill her up.
Then, just pick a starting point. It really doesn't matter where it is just pick on and go with it.
Then, just start piping working your way around like a pinwheel in a clockwise motion and you end up with a beautiful rosette.
Keep doing that until you've covered the whole cake and you're done. You can make them as big or small as you like.
Here's the previous one I did for a birthday party
So now I've shared all my secrets. So easy huh?


